Skotrats El Cheapo Po' Mans Keg Conversion 101
Hey,
Here is the post I made some time ago to the Brewery's BBS. I have gotten so many emails and requests for it that I have decided to add it to the site.
I use a "UNI-BIT" and a 1/2" Tap and Die set (from your local True Value about $40).
on another note you should know that I use Brass fittings that have been pickled and that sweating a fitting with Lead free Silver Solder is not the same as welding it.
My logic behind this is that the Tap and Die producea threaded hole that allows the nipple to fit securely without leaking. If you do not want to sweat it you can also use a silicone grommet to seal it off if there are any drips what so ever.
This method (silicone grommet) would also work with all Stainless fittings if you chose to go that route. Although others will debate that all Stainless should be welded.
Anywho, below is my original post.
Hope it helps.
-Scott
Hiya,
I have probably converted about 20 kegs over the last year or two and love doing it...
I have tried everything from a torch to a sawzall. My trusty hand held 4 1/2" grinder is the best though.
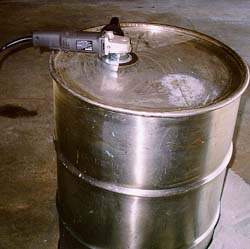
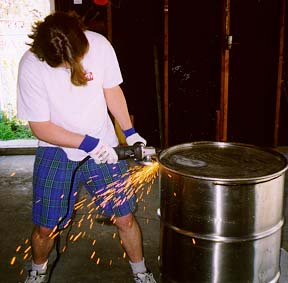
Those are the 55 gallon drums I converted for the monster Home Brewery. The grinder fits quite nicely on the inside lip of a 15.5 gallon standard keg. Just relieve all of the pressure and excess brew from the inside of the keg before you start grinding.
When the top is off the keg it should look something like this 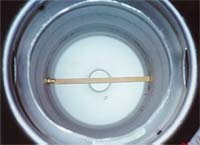
You have to change from your metal cutting wheel to a light metal grinding disc and get rid of all the stainless nasties that are on the lip (both top, bottom and sides) of your newly cut edges...
WEAR GLOVES!!! once you have it ground to where you want it us a piece of "fine" sand paper to smooth out all the tough edges on the lip (Again both top, bottom and sides).
Now it is time to make the hole for your 1/2" nipple to go through. 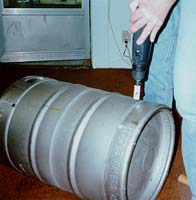
Now in the picture it shows a hole saw. I would reccomend a "UNI-BIT" and a tap and die set. Bring the UNI-BIT to the point where you can get the thread tapper in there and start threading the hole for the nipple to go into. This will make leaks on your sweat job less likely and make for a much stronger nipple seal.
Once the hole is threaded polish off the rough edges on the hole surface both inside and out (Note: Here is Roundboy with the trusty dremmel) 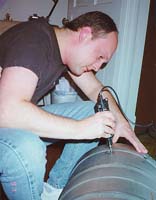
Once the nipple is screwed into your new threads nice and tight apply a water based food grade Flux around you nipple where it meets the outside of the keg and sweat the nipple sealed using a lead free food grade silver solder 
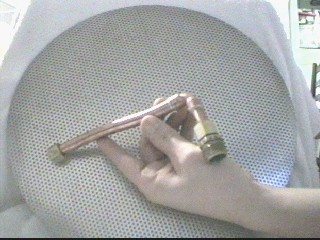
Here is what you will need to have to make the nipple and valve work on the keg....
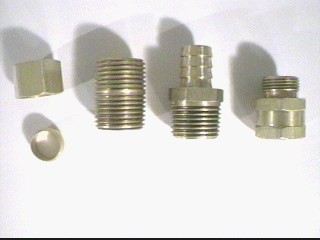
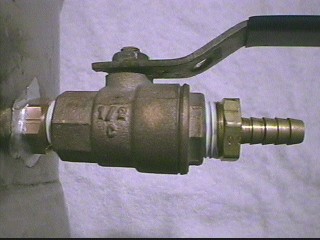
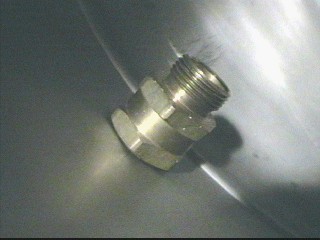
The pieces on the left and right of the first image will go inside the keg like this....
The Compression fitting on the left will go on a piece of copper tubing that goes to your mash screen... It will look like this:
The Screen is threaded like the keg wall so the copper piece you make screws into it and will not separate during the mash... The finished mash screen looks like this:
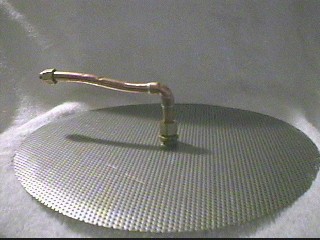
Note that there is a copper "L" another 1/2" compression fitting and another 1/2" nipple in that piece (Sorry, I don't have images of those)
On my "hot liquor" tank I just did a simple copper tube sweat 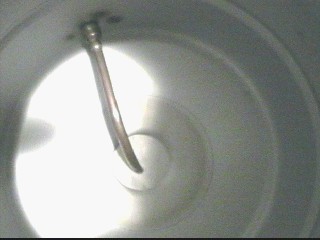
On one of my early boilers I made a real crappy drain tube...
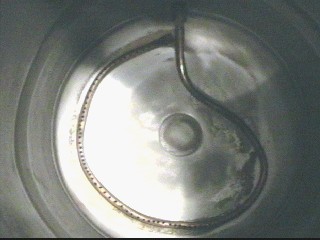
I have never changed it because it works so damn well... sure is ugly though!
Now.... Wasn't that easy????
Actually, it isn't that bad... It is just time consuming... But DAMN!! It is really cool brewing good beer on a system you made
C'ya!
-Scott